So, you've finally taken the plunge and stripped that old wallpaper. Maybe you tackled it yourself, or perhaps a pro handled the messy part. Either way, you're now staring at bare walls, probably thinking, "Whew, that's over." But here's the kicker: getting the wallpaper off is really just half the battle. What you do next—and how you keep those walls looking good—makes all the difference in how long that fresh, new look actually lasts.
Making Your Wallpaper Removal Project Last
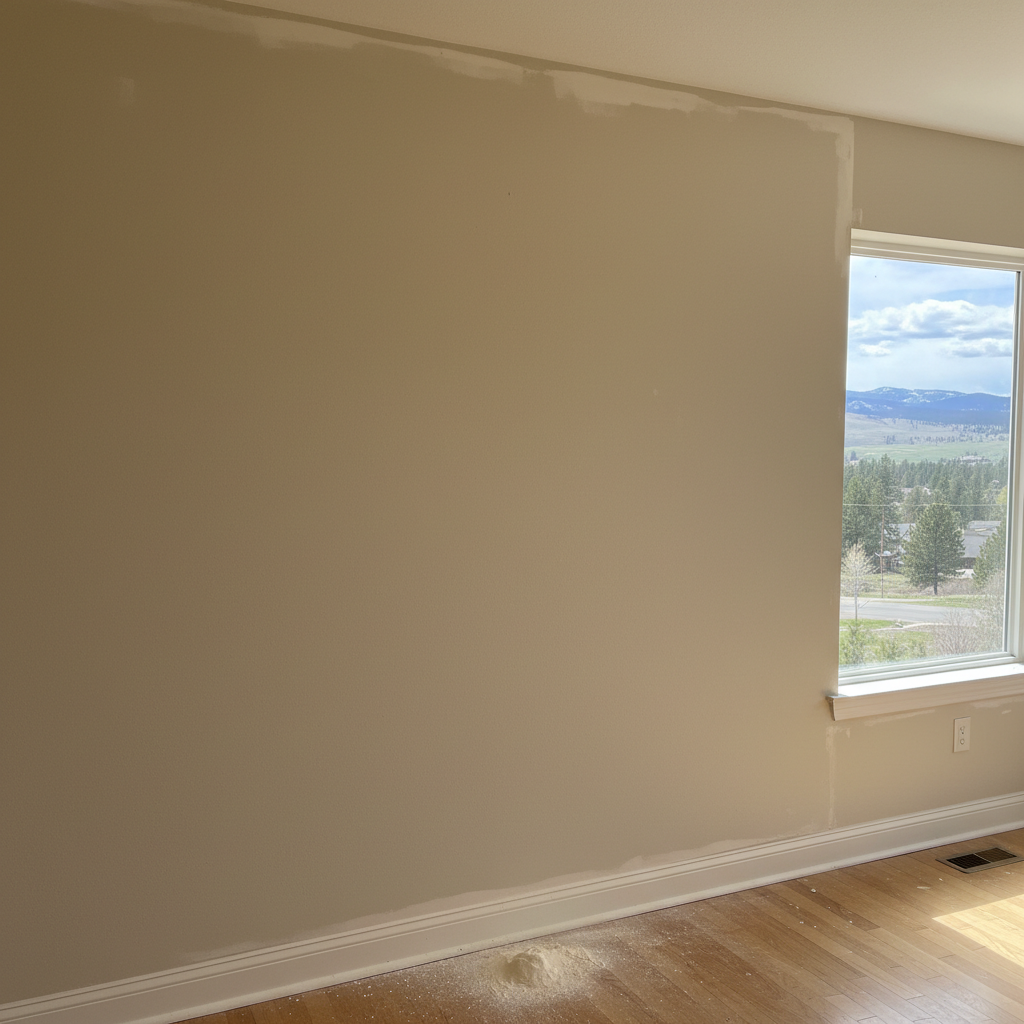
Once the paper's gone, your walls are, well, exposed. Often, the old glue leaves some residue behind, or maybe the drywall paper got a little scuffed up during the process. The secret to a finish that holds up over time is proper preparation and protection.
First things first: clean those walls like you mean it. Hot water and a good degreaser or TSP substitute will usually get rid of any stubborn adhesive. You definitely don't want to paint over anything sticky; it'll show right through the paint and attract dust like crazy. After cleaning, rinse everything really well and let the walls dry completely. And I mean *bone dry* — which, let's be honest, can take a bit longer here in Missoula during our wetter spring months.
Next up: prime, prime, prime. Seriously, I can't say this enough. Grab a good quality, stain-blocking primer, ideally one that's shellac-based or a high-quality acrylic. This seals in any leftover glue, blocks stains from bleeding through, and gives you a nice, even surface for your paint. It also helps the paint stick better, especially if the drywall got slightly dinged up while you were pulling off the old paper. Don't cheap out on primer; it's the foundation for everything else you're doing.
Finally, pick a paint that's built to last. For walls that used to have wallpaper, I always suggest a good quality eggshell or satin finish. These are much easier to wash and resist scuffs better than flat paints, which is a huge plus for busy areas. They'll stand up better to everyday life and make cleaning down the road a whole lot simpler.
What Regular Wall Maintenance Looks Like
Keeping your walls nice after wallpaper removal isn't rocket science, but it does need a little bit of attention. Mostly, it's about keeping them clean and fixing small problems before they turn into big headaches.
For everyday cleaning, a soft cloth or sponge with some mild soap and water usually does the trick. Just don't scrub too hard, especially with abrasive cleaners, because you can actually damage the paint finish. If you've got tougher spots, a magic eraser can work wonders, but always test it in a hidden area first to make sure it won't dull the paint.
Giving your walls a quick dust now and then is also a smart move. It stops grime from building up, which is always harder to clean later. A quick swipe with a dry microfiber cloth is all it takes.
Keep an eye on spots around light switches, door frames, and corners. These areas tend to get more wear and tear, don't they? A quick touch-up with any leftover paint can keep them looking fresh. If you've got kids or pets, you know exactly what I'm talking about. Little scuffs and marks are bound to happen, but they're easy to fix if you catch them early.
Warning Signs of Trouble
Even with the best prep, sometimes issues just pop up. Knowing what to look for can really save you a headache later on.
- Peeling or Bubbling Paint: This is a big one. If you see paint starting to peel or bubble, it usually means there was a problem with adhesion. Maybe the wall wasn't clean enough, or the primer wasn't quite right for the surface. It could also point to moisture behind the wall, which is a more serious concern.
- Discoloration or Stains Coming Back: If you primed correctly, this shouldn't happen. If stains start showing up again, especially yellow or brown spots, it means the primer didn't fully block whatever was underneath—often old adhesive or water stains.
- Cracks or Hairline Fractures: Small cracks can appear because your house settles or due to seasonal expansion and contraction. Missoula's freeze-thaw cycles, for instance, can be pretty tough on foundations and walls. If they're minor, you can usually patch and repaint them. Larger, more active cracks, though, might suggest structural issues.
- Mold or Mildew: Any fuzzy, black, or green spots are a huge red flag. This definitely signals a moisture problem. Don't just paint over it; you need to find the source of the water and fix that first.
When to Call a Professional
Look, I'm all for doing things yourself when it makes sense, but sometimes you just need to bring in the big guns. Here's when I'd say it's time to get Missoula Painting on the phone:
- Extensive Damage: If your walls are really beaten up after wallpaper removal—think large sections of torn drywall paper, deep gouges, or widespread crumbling—it's going to take more than a quick patch job. We've got the tools and know-how to properly repair and skim coat walls, making them look brand new.
- Persistent Stains or Adhesion Issues: If you've tried priming and painting, and you're still seeing bleed-through or peeling, there's probably a deeper problem with the surface or the products you're using. We can figure out what's wrong and apply the right solutions.
- Moisture Problems: If you suspect mold or a leak is causing issues, that's beyond a painting problem. You'll need to fix the water source first, but once that's handled, we can take care of the wall repair and painting.
- You Just Don't Have the Time or Patience: Let's be honest, wall prep can be incredibly tedious. If you've got better things to do, or you simply want a truly flawless finish, a professional will get it done efficiently and correctly. We're not just slapping paint on; we're creating a durable, beautiful surface that will last.
Taking good care of your walls after wallpaper removal isn't just about how they look; it's about protecting your investment. A little maintenance really goes a long way in keeping your Missoula home looking its absolute best.